Are you thinking of replacing your wooden railings with wrought iron? If you are, then you’re making the right choice! Wrought iron is extremely durable and provides your home with much more security.
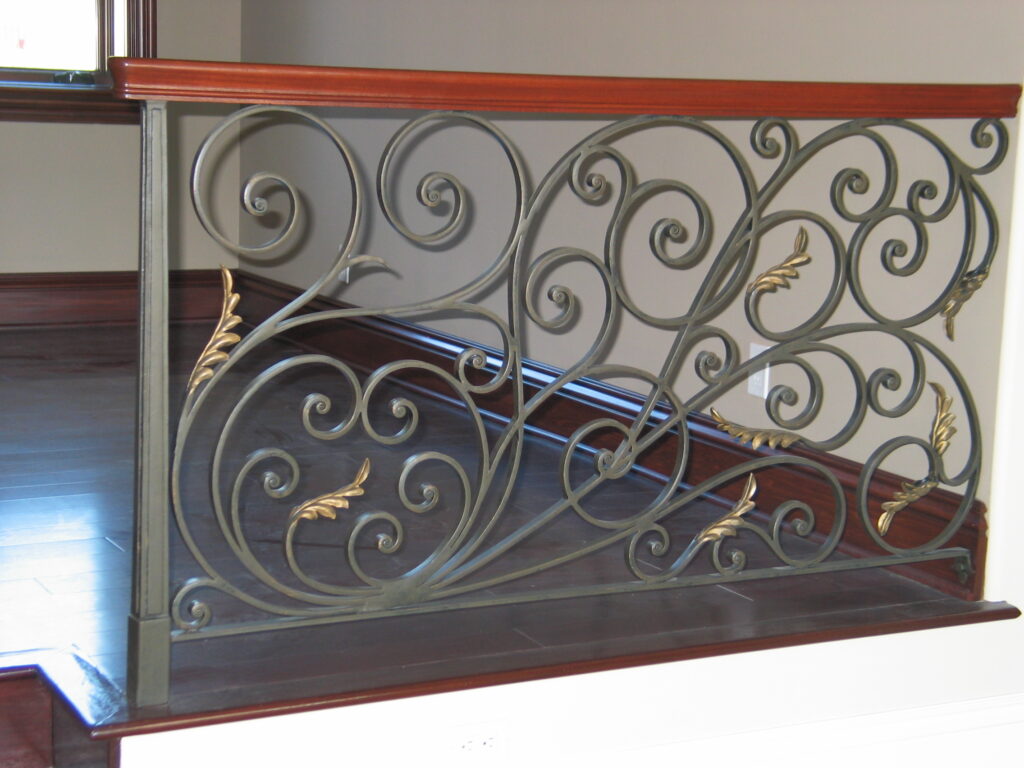
Upgrading your wood railing with wrought iron is usually done to strengthen the structure of your railing, especially if the wood has weakened over the years. On the other hand, some homeowners upgrade their wooden railings to wrought iron because it gives a better overall appearance. In fact, a combination of wood and wrought iron is especially trendy these days. Plus, the combination of the two is known to be long-lasting.
If you’re in the mood to be crafty, this is a renovation project that you can do completely on your own! However, keep in mind that it may take a bit of elbow grease on your part, so don’t expect the project to be easy-peasy. That said, here’s our DIY guide to replacing your wooden railings with wrought iron railings:
What You’ll Need:
- Pry bar
- Claw hammer
- Marker/pen
- Reciprocating Saw
- Safety goggles
- Power screwdriver
- Hammer drill
- Concrete sleeve anchors
- Drill
- Masonry drill bit
Design Your Wrought Iron Railing
When it comes to wrought iron railings, there are many design options to choose from. So the first thing you have to do is to choose a design that would match perfectly with the overall design of your house. If you’re buying online, a lot of companies offer an interactive tool on their websites where you can play with various designs and decide what works best for you.
Remove the Wood Railing
If the railing is nailed to the posts, use a pry bar to loosen it. Once it is loose, use a claw hammer to remove the nails. You will need a reciprocating saw to cut through the nails attached to the ends of the top rail. Should you find that the top rail is screwed into place, you can use a drill for the screws. Then, use a hammer to knock the spindles over to loosen them and pull them from the bottom rail.
Install the Wrought Iron Railing
Drill holes by following the marked screw holes that you made. For wood surfaces, a standard drill will work fine. On the other hand, for a concrete surface, you’ll need to use a hammer drill.
Line up the screw holes on the railing and begin drilling. You’ll want to use galvanized screws for wood and bolts for concrete.
Conclusion
With the durability and increased aesthetics that wrought iron railings bring into a home, there’s no wonder that more and more homeowners are opting for the switch. Wrought iron railings are also longer-lasting compared to wooden railings, and are much more secure—a great feature if you have little ones in your household.
Despite the benefits this type of railing provides, replacing your railings can definitely be a tedious job. If you’ve always been a bit of a handyman, then the project should be no sweat. Follow the guide we’ve written above and the process should be smooth and easy.
However, if you think you can’t replace the wooden railings by yourself, you can always hire a professional to install a wrought iron railing for your home. There are tons of contractors out there that can help you out—but make sure to do your research beforehand and choose a trusted, reputable contractor for any of your railing needs.
At Artmex Inc, our experts provide and install wrought iron railings in Beverly Hills. Contact us today to have your railings professionally replaced!