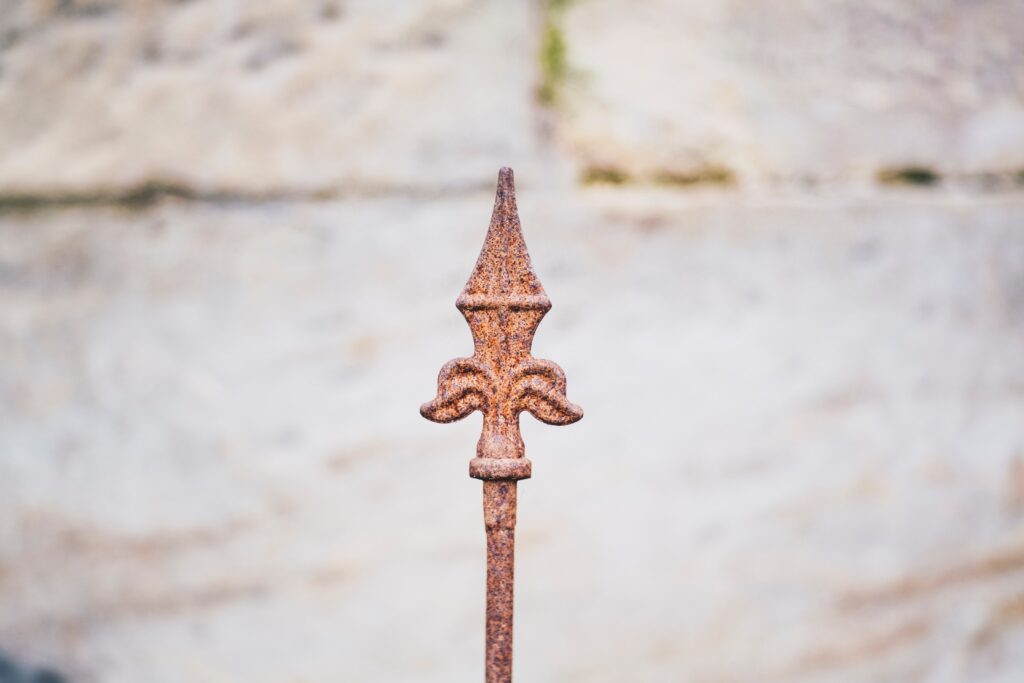
Often regarded as one of the most durable options on the market, wrought iron fences are just as strong as they are beautiful. Used in a wide range of property styles spanning from humble bungalows to full-fledged manors, these higher-tier fences help deliver modern sophistication that blends with any kind of design orientation. As clear as it may be that a wrought iron fence can deliver years of satisfaction with ease, however, there’s one common problem that many homeowners face: rusting.
Why dealing with rust is troublesome and what you can do to fix it
The main reason rust is such an issue for any Beverly Hills homeowner is that it can severely impact the way a wrought iron fence performs. When not dealt with properly, oxidation can build up and ruin the appearance of any fence while damaging it entirely. Yet, reversing its effects and restoring it to like-new isn’t as hard as expected.
If you’ve got a rusty fence, here’s a four-step guide to restoring it to its former glory and preventing further damage in the long run:
Step #1: Strip it down
When your gate starts to show signs of wear and tear, the first step is to strip the entire arrangement bare and remove both the rust and old paint off of the surface.
By using a paint scraper and a bottle of paint remover, start removing loose and peeling paint to get rid of the old layers that are contributing to the overall amount of rust. Once you’ve got all the paint layers out of the way, scrub other remaining chips, rust spots, and layers with the use of a wire brush. If the brush doesn’t suffice, you can use a wire wheel to get the heavier layers out of the way.
Step #2: Use sandpaper
The next step in the restoration process is to give it a much-needed scrubbing all over by using a coarse-grit sandpaper. Generally, you would want to concentrate on the affected areas since the type of sandpaper used works best with eliminating the problem at hand entirely. It is important to note, however, that you may want to use a sanding wheel for more stubborn parts to save yourself time, sweat, and tears.
After all the rust spots have been removed, perform a do-over by using some medium-grit sandpaper to smoothen everything out, not forgetting to wash it after to fully prep it for painting!
Step #3: Use rust neutralizer as a long-term precaution
One important aspect of rust that most homeowners tend to overlook is that even the smallest specks that are left behind can grow to affect your entire fence. To get rid of all the tiny rust particles, scrub in a rust neutralizer mix with the help of a wire brush into your wrought iron fence to properly treat it.
(Pro-tip: Scrub in a circular motion to attain a more even coating that can get right into the small particles far more effectively)
Step #4: Prime your fence and paint it
The last step in the entire process towards restoring your wrought-iron fence is a prime-and-paint procedure that can go a long way towards restoring its appealing looks.
To start, spray over your fence’s entire surface with the help of a rust-inhibiting primer that’s mixed for metal and let it dry for four to six hours. Then, treat it with two to three thick coats of rust-resistant paint with a spray or medium-bristled paintbrush to get smooth and even strokes!
Conclusion
Restoring your wrought iron fence and making it look like new is all about paying attention to the details and carrying out the necessary precautions and maintenance procedures. By following the four-step guide above, you can bring back the beauty of your wrought iron fence and keep it looking like new in the long run!
Looking to adorn your home with a wrought iron fence or gate? Let Beverly Hills’ foremost wrought iron experts handle your home’s needs by getting in touch with us today!